Showing posts with label Virtual Nymph Nymph Skin. Show all posts

Sunday, October 1, 2017

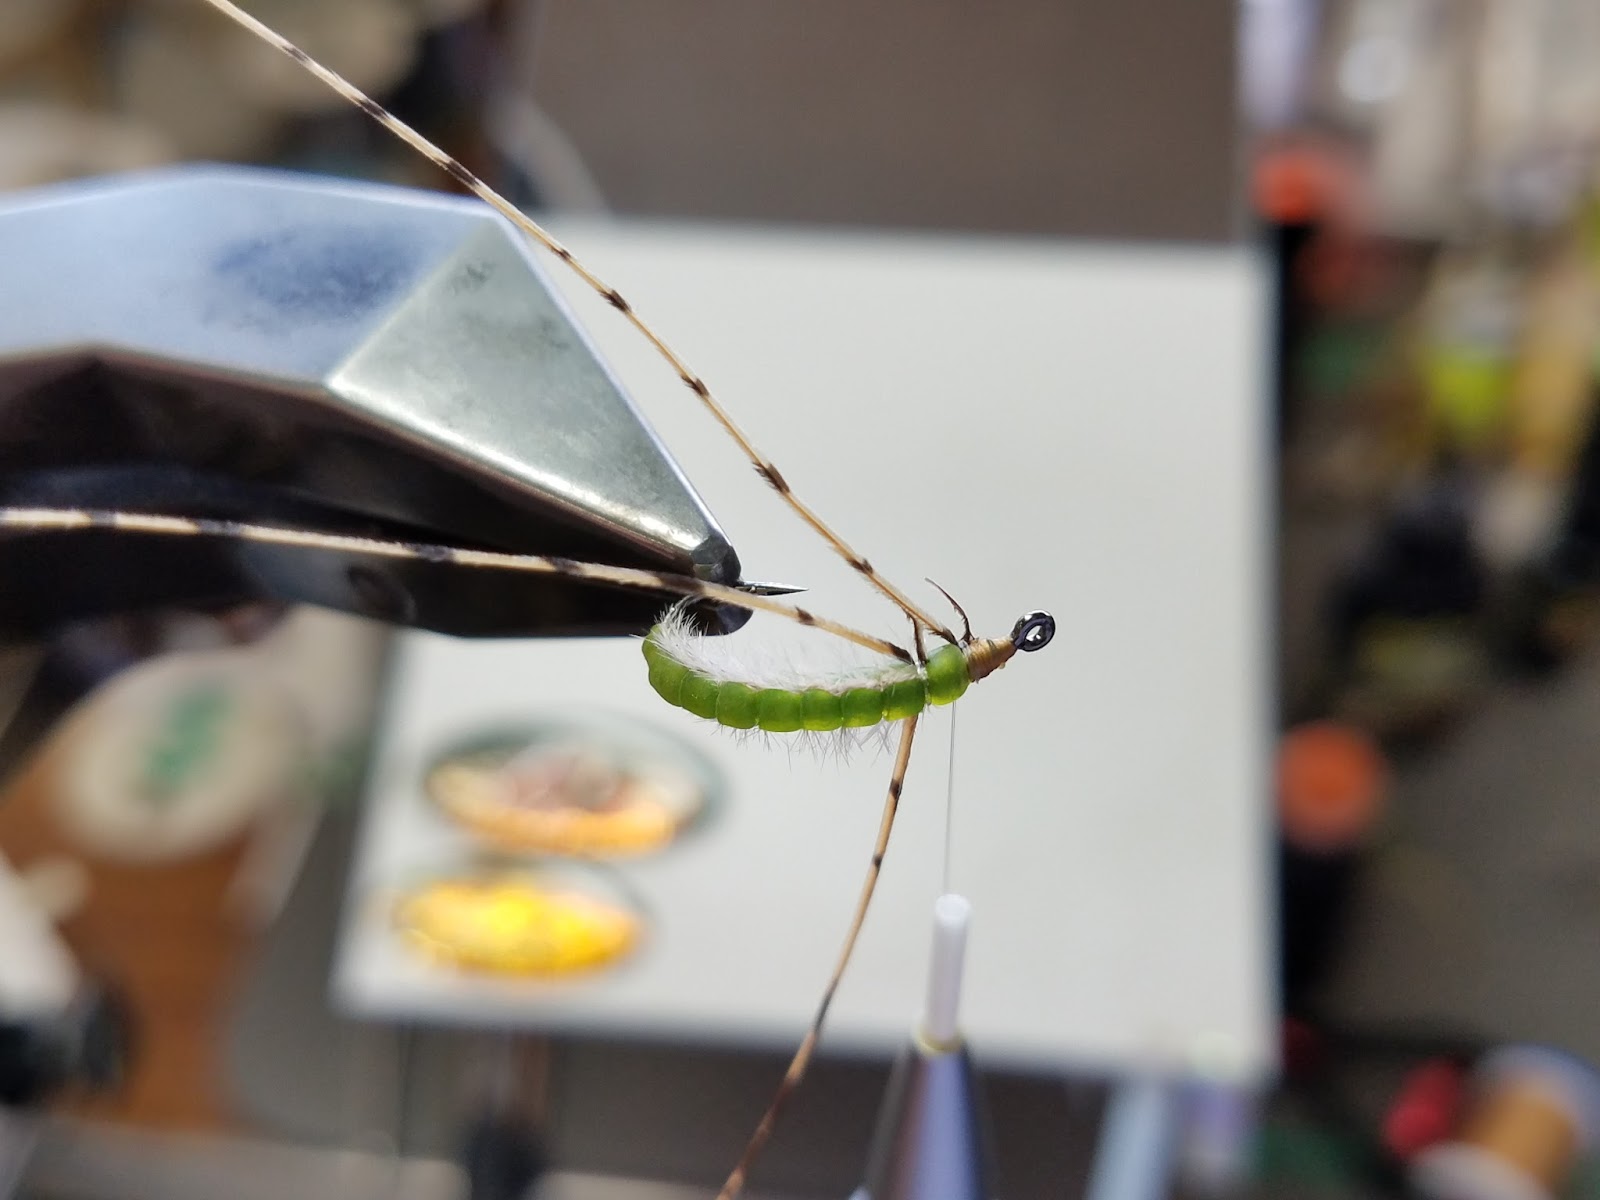
Fishable Realistic Isonychia Nymph Using Flymen Evolution Mayfly Beads, Virtual Nymph Nymph Skin and Golden Pheasant Tail

Fishable Realistic Isonychia Mayfly Nymph

» Order Ephemeroptera (Mayflies)

» Family Isonychiidae (Slate Drakes)

» Genus Isonychia (Slate Drakes)

» Species bicolor (Mahogany Dun)


Isonychia nymphs are in the swimming behavioral group of mayflies. They swim their way through fast riffles and are considered the Cheetah of mayflies. They are one of the fastest swimming mayflies in the world.

Isonychia are a plankton feeder but are also known to be one of the few predatory mayflies. They sometimes feed on midge, caddis larvae and smaller mayfly nymphs.

Key morphological characteristics to focus on while tying a fishable realistic version of these nymphs are the 3 tails, lighter colored dorsal line, gill tufts along the lateral portion of the abdomen and legs.

Tuesday, August 22, 2017

Rhyacophilidae Fishable Realistic Caddis Larva- Smhaen Bobbin Holders, Virtual Nymph Nymph Skin, Deer Creek UV Flex Resin, Daiichi 1160 Klinkhammer Hook

Rhyacophilidae, Fishable Realistic Caddis Larva

The Rhyacophilidae are a family in the insect order of Trichoptera, which are commonly known as caddisflies. Larvae of this family are in the free living behavioral group and most species are predatory. The largest genus is Rhyacophila, with nearly 500 species distributed throughout the Northern Hemisphere. One important morphological characteristic is many Rhyacophilidae have a gill structure located on the lateral sides of the abdominal wall.


Select 2 Ostrich barbs.

Secure one Ostrich barb on each side of the hook (these will imitate the gill structure).


Cut the Nymph Skin at an angle and secure ahead of the Ostrich barbs.

Select your waterproof marker (I mostly use Kurecolor or Chartpak markers).

Move the thread bobbin holder to the eye and stretch the Nymph Skin before you mark it.

Palmer the Nymph Skin to behind the eye and secure it in place with the bobbin holder at the eye.

Remove the bobbin holder at the eye.

Secure the Ostrich in place at each segment of the abdomen using the UNI Mono Thread. 

Repeat the process all the way to the rear of the last segment at the front.

Cut the excess Ostrich. 


Prepare 2 of the barbs, one from each side, to create the rear legs.

Using a pair of tweezers, secure one leg in place with the UNI Mono Thread.

Secure the second rear leg in place on the opposite side. 

Repeat the process for the first center leg.

Secure in place.

Repeat for the other center leg.

Prepare and secure the forelegs in place.

Last of the 6 legs.

VIOLA!

At this point, remove the excess barb material from the fly.


Choose a brown toned (your choice) marker to mark the head and back plates.


Be careful not to run the marker along the ostrich or it will soak up the color of the marker.


Coat the head with the UV Resin.


Repeat the process with the next few segments. 

Cure for at least 15 seconds.

For added durability, put the UV Resin on a micro brush and mark down the back of the fly.


Wednesday, July 26, 2017

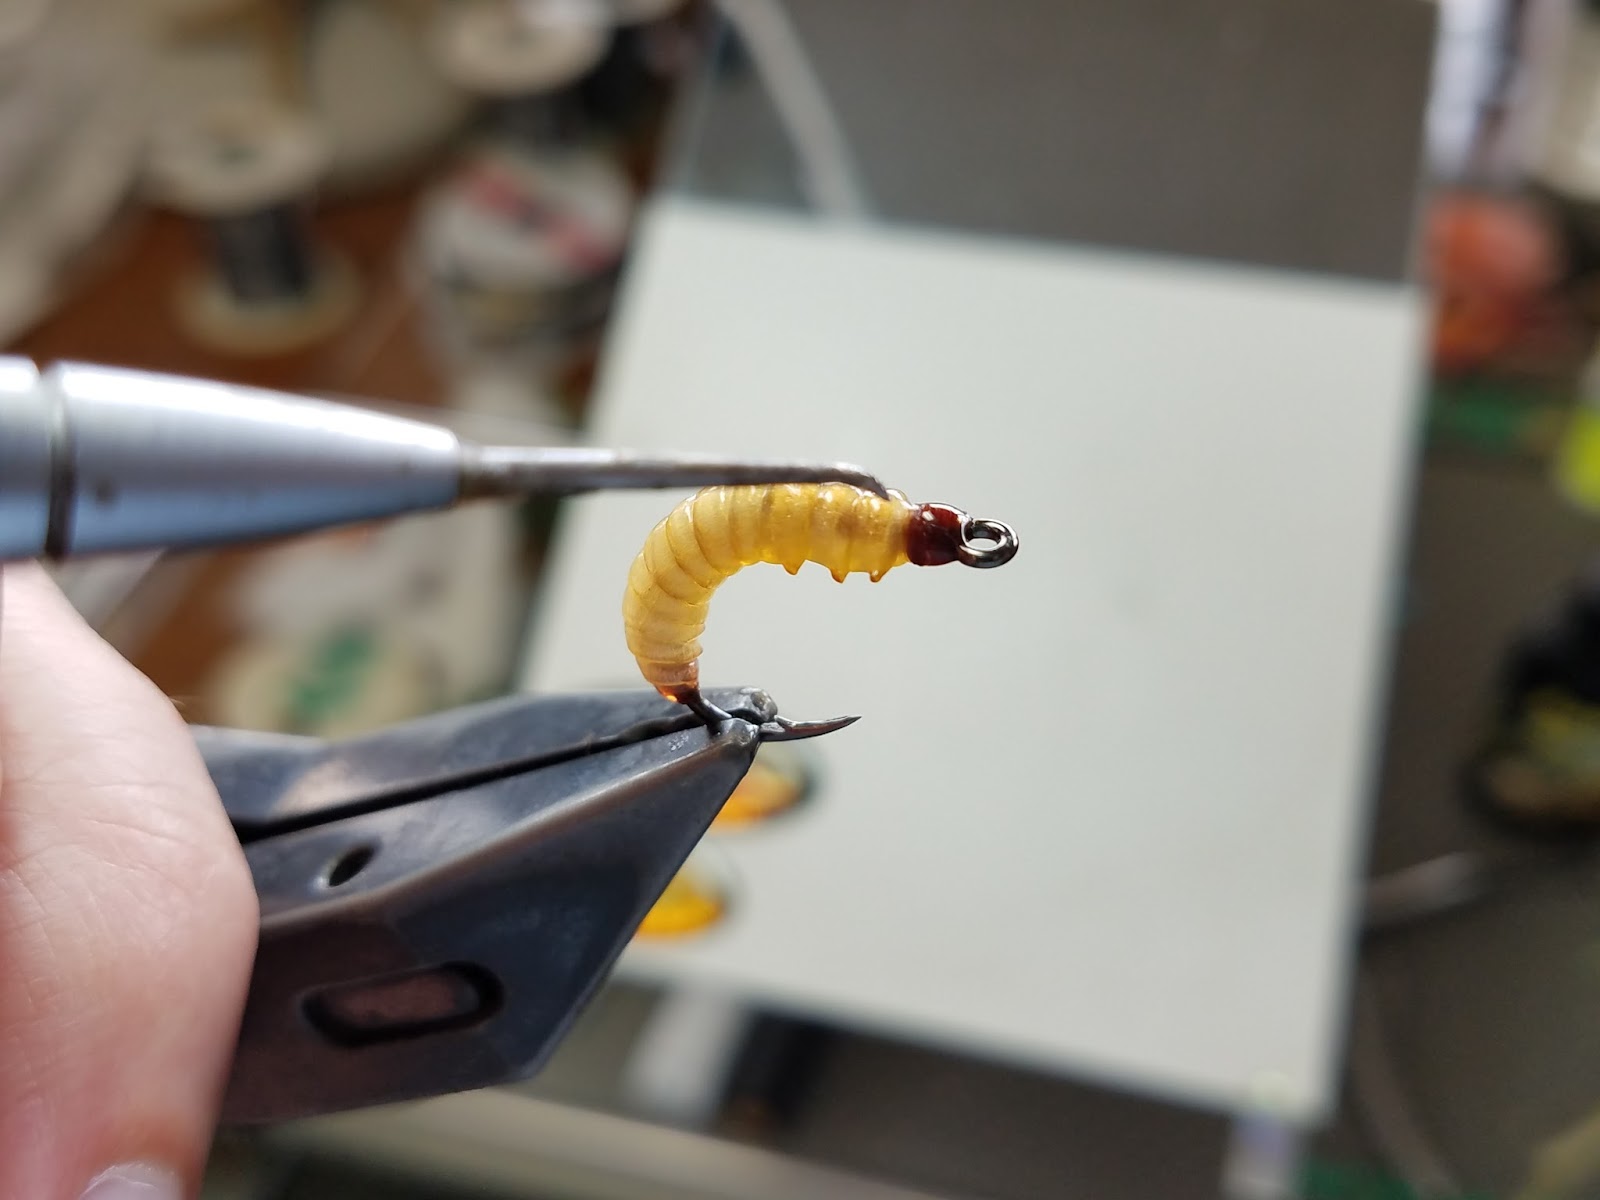
Waxy the Waxworm Step By Step- Smhaen Bobbin Holder, Virtual Nymph Nymph Skin & Japanese Nymph Legs

Waxworms are the larva of wax moths, which belong to the family Pyralidae. In the wild, they live as nest parasites in bee colonies. They eat cocoons, pollen, skin sheds of bees, and beeswax, thus the name. Beekeepers consider waxworms to be pests. They are also being used in the bio-degradation of polyethylene plastic. Many species of fish love to consume them. 


 Wrap .020 lead wire.

 Use a heavy flat thread (Veevus 240) to cover the lead and create the taper.


Use the Japanese Nymph Legs to create the legs.

Secure the first "U shaped" set in place.

Repeat the process with the center set of legs. 

Repeat the process with the forelegs.


Cut one end at an angle for an easy tie in.

Secure the Nymph Skin in place and advance the thread bobbin holder to behind the eye. 

Wind the Nymph Skin forward.  


 Mark the rear end with a waterproof marker.

Rib the body with the mono thread.

Whip finish and remove the second bobbin holder.

Mark to your liking (back and the tips of  each leg)

Use a blender marker to help blend the colors.


Coat the head with the UV resin.

Cure with a UV light for at 12-15 seconds.


Coat the tips of the legs with the UV resin so the color stays.


Coat the entire surface with the UV resin using a micro brush.

Cure the UV resin with the UV light. You can stop here or continue on to the next steps.


Cure the UV resin with the UV light for 12-15 seconds.

Continue this process all the way to the back.


Finished product. Fish love it.